Making a dining(?) table from an old cedar staircase and some offcuts I've been glueing and occasionally screwing together. Links to all the various woodwork I've been doing lately are here

The top after a 2nd coat of polyurethane

A mad slice of oegon with a knot (as well as some kauri and cedar


The legs with a coat of varnish


The table with legs. I'm going away for a few days. When I get back I'll give the top another coat (at least) of polyurethane to fill the remaining tiny holes, and sand the legs a little bit more and coat them as well.
This table doesn't have a home as yet, so if you want it, get in touch. And of course I can make stuff to order, as long as its interesting,and the materials are at hand

Very shiny from this directions

The Cosmic Bones after a coat of polyurethane to bring out the colour


All the fill sanded back as well as the burnt surface after I gave it a once over with a clean dflapisk

After a sand to get rid of anything protruding above the surface and reveal and last spots that need filling, as well as te one hole where I belted a piece out of the front with the mallet while trying to get a pice to fit in the back when the tabletop was upside down

another view

a detail

legs

A smorgasbord with coffee, between courses

Upside down, sizing up legs
 ]
]
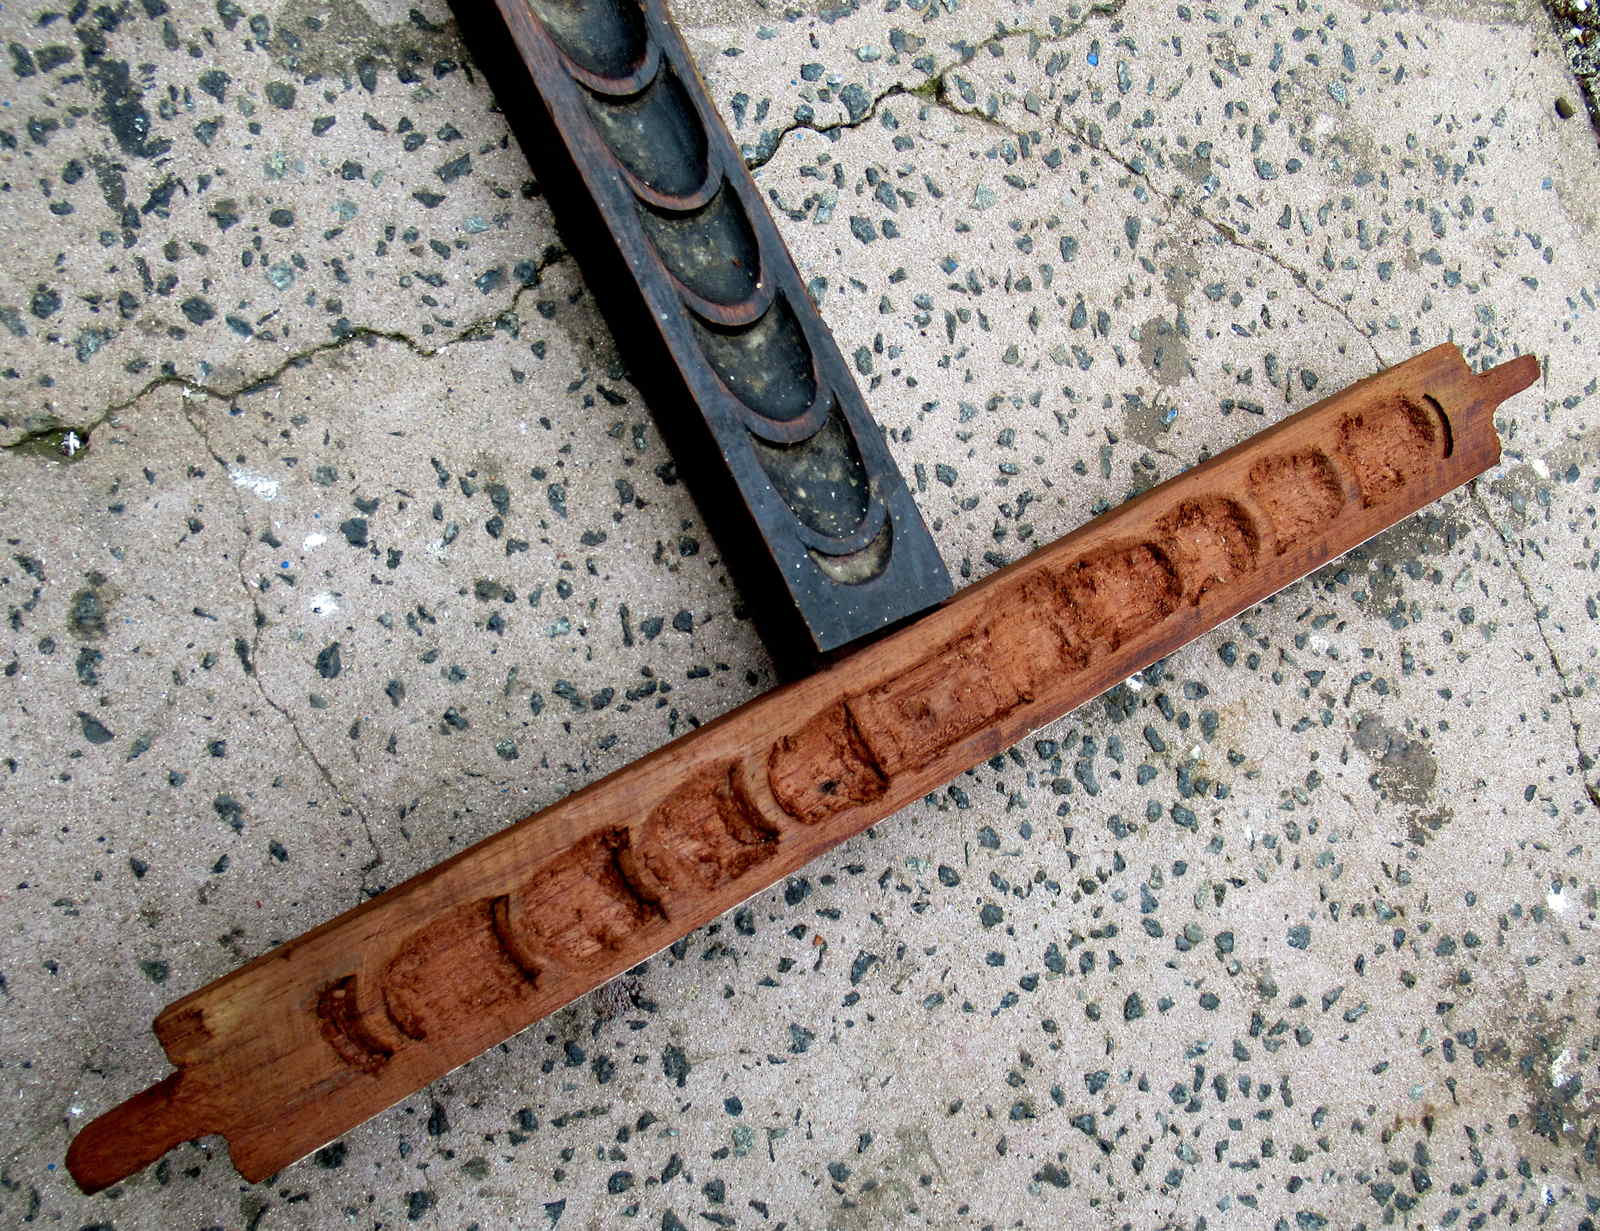
a piece for Charles chair, with dodgy carving

I pushed out the blades on the makita plane and hacked away at all the timber and fill sitting too high and shattered a couple of weak pieces(mostly thinnish bits with the grain vertical), and knocked out a few others that had crappy glue bonds, or were not fully set .
Then I had a go with the big sander.
Anyway it starts to give an idea of what it will looked like finished and varnished


There are only a couple of little depressions left to fill in the cedar. As soon as the glue dries I'll roughly plane off everything to table level, sand a little, then fill anything I missed before a final plane and big sanding. Then slobber polyurethane all over it a couple of times. (Phew)

Closeup, a jigsaw piece

All the slots etc are close to being filled now and I'm looking forward to planing it back and getting ready to finish it

I've glued some more woodscraps into the stair slots in the cedar panels.

Later on I'll fill in with sawdust and glue and more little bits of wood, then plane and sand it flat

A closeup `with more bits ready to glue, including old paintbrushes

Covered in tools and bits of wood I'm starting to glue in the slots

The main pieces assembled

Upside down and all clamped together
No comments:
Post a Comment